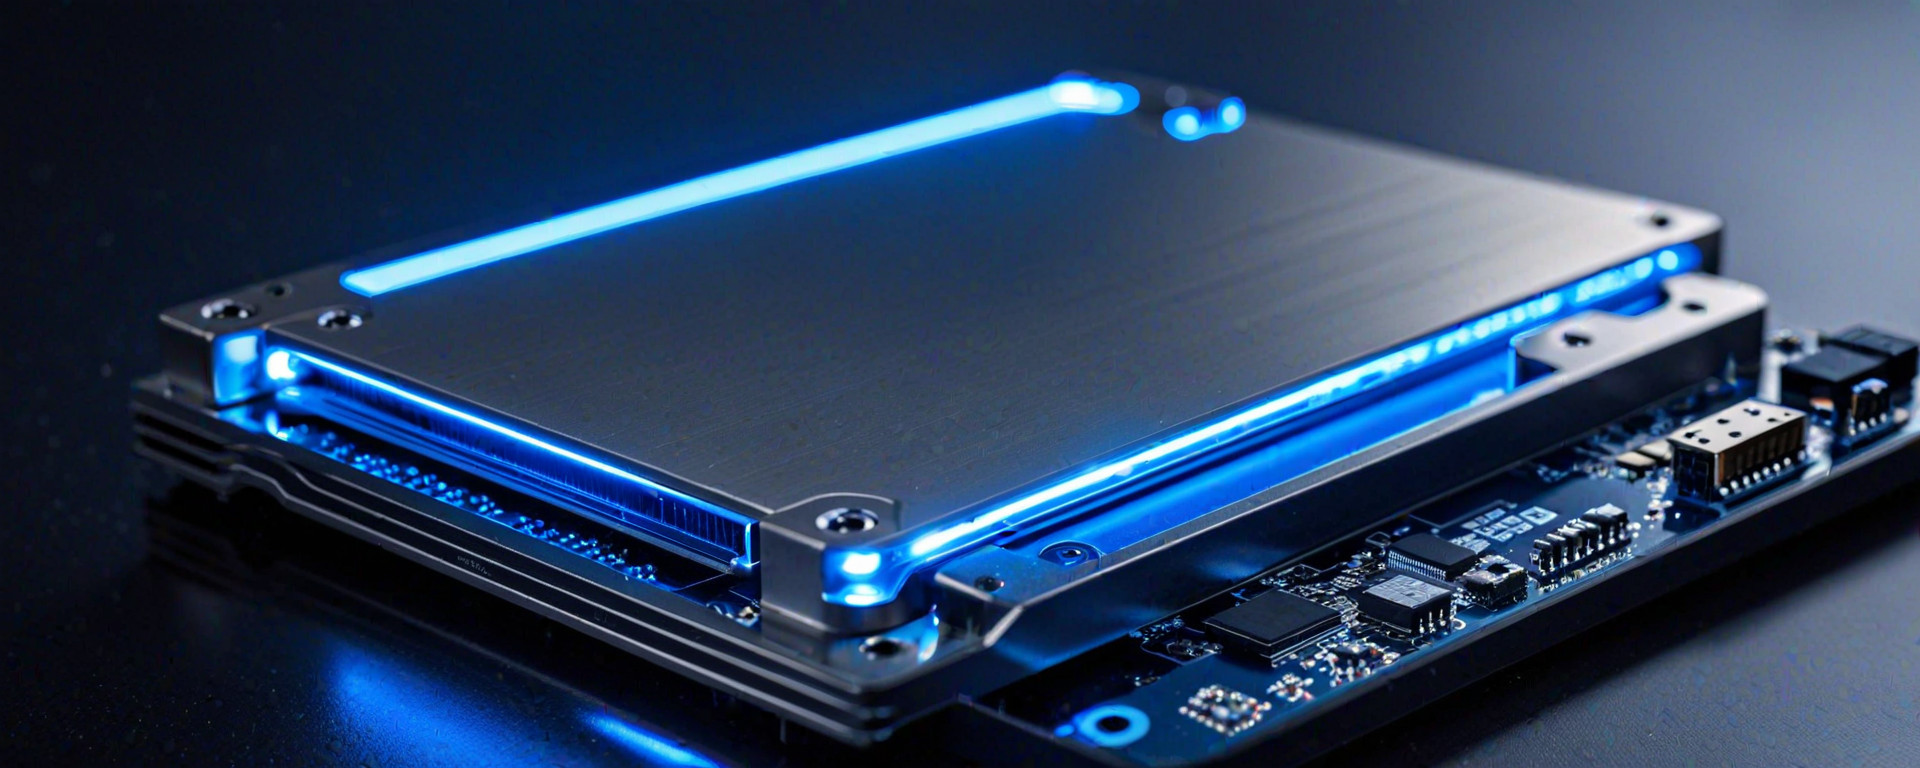
Introduction to CPU Coolers
CPU coolers are essential components in maintaining optimal performance for your computer's processor. Without an efficient cooling solution, your system can overheat, leading to performance degradation, hardware damage, or even failure. This guide will walk you through the process of installing and setting up various types of CPU coolers available on the market today.
Types of CPU Coolers
There are primarily two categories of CPU coolers: air coolers and liquid coolers (AIO or custom loop).
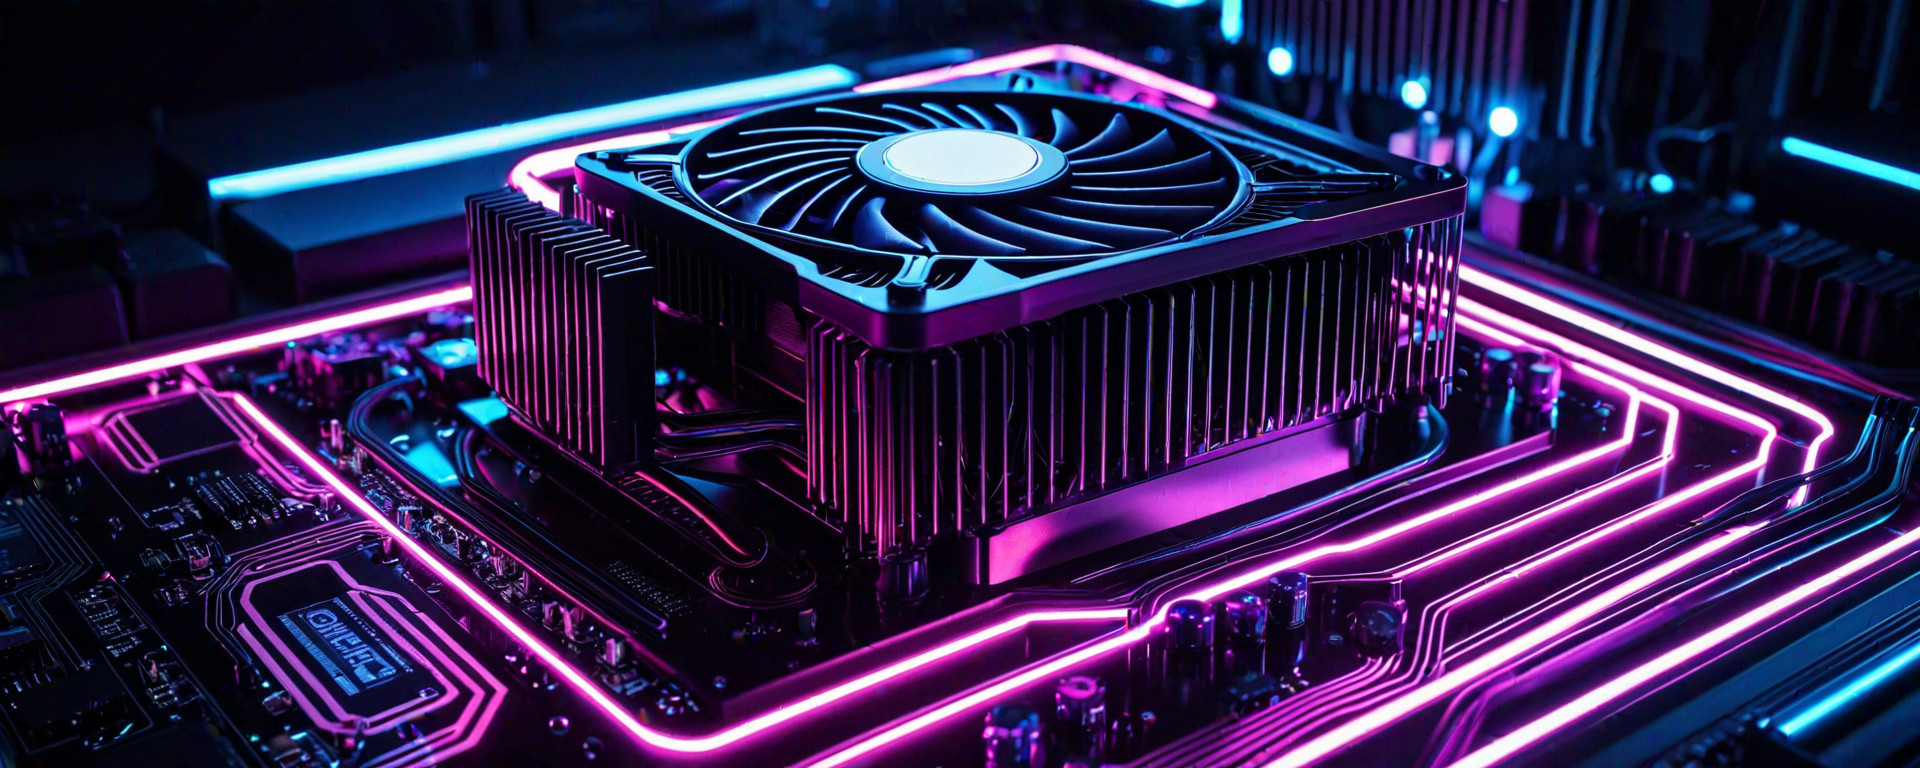
- Air Coolers: These consist of a heat sink with multiple fins and one or more fans to dissipate heat. They come in various sizes and designs, from basic stock coolers to high-performance tower coolers.
- Liquid Coolers (AIO): All-in-one liquid cooling systems provide better thermal performance than air coolers but require a bit more installation effort. AIOs typically include a radiator, pump, and tubing for the coolant.
Choosing the Right CPU Cooler
Selecting the right CPU cooler depends on several factors:
- Budget: Air coolers are generally less expensive than liquid cooling solutions. However, high-end air coolers can be quite pricey.
- Noise Level: Liquid coolers usually offer quieter operation at lower fan speeds compared to their air cooler counterparts.
- Cooling Performance: Liquid coolers provide better thermal performance under heavy loads but may not have as much headroom for overclocking.
Compatibility Considerations
Before purchasing a CPU cooler, ensure it is compatible with your motherboard and case. Key considerations include:
- Motherboard Compatibility: The cooler must fit within the form factor (ATX, micro-ATX) of your motherboard.
- Case Clearance: Check if there's enough room between the CPU socket area and the case's side panels or other components.
- CPU Mounting Type: Ensure that the cooler supports your specific CPU socket type (LGA, AM4, etc.).
Installing an Air Cooler
Here’s a step-by-step guide to installing a standard air cooler:
Preparation and Tools Needed
- CPU cooler kit: This usually includes the heat sink, fans, mounting brackets, thermal paste.
- Screwdriver (Phillips head): For securing the cooler to the motherboard and case.
- Multimeter: To test fan connections and ensure proper orientation.
- Anti-static wrist strap: To prevent static discharge damage to your components.
Installation Steps
-
Preparation: Open your case, remove the I/O shield if necessary, and lay out all parts. Place the anti-static wrist strap around your wrist and connect it to a grounded surface or metal object.
-
Apply Thermal Paste: Squeeze a pea-sized amount of thermal paste onto the center of the CPU die. Avoid over-applying as this can hinder heat transfer.
-
Mounting Bracket: Install the mounting bracket on your motherboard according to the instructions provided with your cooler. This may involve inserting standoffs or using a backplate for better support and stability.
-
Fan Assembly: Attach the fan(s) to the heat sink, making sure they are securely fastened but not overly tightened.
-
Mounting on CPU: Place the cooler over the CPU socket and secure it by tightening the mounting screws evenly in a star pattern. Do not overtighten or you may bend the bracket and damage your motherboard.
Installing an AIO Liquid Cooler
Setting up an all-in-one liquid cooler involves similar steps but includes additional components such as a radiator, pump, and tubing:
Radiator Placement
- Selecting the Location: Choose an optimal location for your radiator based on airflow within your case. Common placements include top, front, or rear of the case.
- Cable Management: Ensure that there is enough space behind the radiator to route cables neatly and without obstruction.
Tubing and Pump Setup
- Pump Mounting: Most AIOs come with a pre-installed pump unit. Carefully position it away from sensitive components like RAM or storage drives.
- Tubing Connections: Connect the coolant tubes to the radiator and CPU block, ensuring they are properly sealed to prevent leaks. Use clamps to secure tubing if necessary.
Fan Installation and Setup
- Radiator Fans: Mount fans on the radiator using included clips or case mounts. Ensure proper fan orientation for optimal airflow.
- Connecting to Motherboard: Attach power cables from your PSU to the cooler’s pump, as well as any additional PWM-controlled fans if applicable.
Troubleshooting Common Issues
During installation or after setup, you may encounter some common problems:
- Fan Not Spinning: Check connections and ensure power is supplied to the cooler. Verify that fan cables are plugged into the correct headers on your motherboard.
- Pump Noise: Ensure that the pump is securely mounted and not in contact with any vibrating surfaces. Adjust fan speeds if necessary for quieter operation.
- Tubing Leaks: Inspect tubing connections for proper sealing and ensure no kinks or sharp bends which can restrict coolant flow.
Conclusion
Installing a CPU cooler is crucial for maintaining your system’s longevity and performance. Whether you opt for an air or liquid solution, careful consideration of compatibility and thorough installation are key to achieving optimal results. Regular maintenance such as cleaning dust from heat sinks and checking connections can further enhance the lifespan and efficiency of your cooling setup.
Additional Resources
- Tutorials: Follow detailed video guides on platforms like YouTube for visual demonstrations during installation.
- User Manuals: Refer to official user manuals provided by manufacturers which often contain troubleshooting tips specific to their products.
- Community Forums: Engage with online communities such as Reddit’s r/buildapc or Tom's Hardware forums where experienced users share insights and help solve issues.
By adhering to these guidelines, you can successfully install a reliable CPU cooler that keeps your system running smoothly under all conditions. Happy building!