Introduction
The performance of a computer's Central Processing Unit (CPU) is directly tied to its ability to manage heat effectively. Overheating can lead to decreased processing speed, reduced component lifespan, and even system crashes or hardware damage. Therefore, understanding the specifications and capabilities of CPU coolers is crucial for maintaining optimal system performance.
This article aims to provide a comprehensive guide on thermal control and how to select the right CPU cooler based on specific requirements such as high-performance gaming, low-noise office environments, or intensive data processing tasks. We will cover key aspects of CPU cooler specifications and their impact on overall system performance.
Understanding Thermal Control Basics
Thermal Management Overview
The primary goal of thermal management is to maintain a stable operating temperature for the CPU, preventing it from overheating. Effective thermal control ensures that the CPU remains within its safe operating temperature range, which enhances performance and prolongs the lifespan of hardware components.
CPU Heat Generation
CPUs generate heat primarily through electrical resistance when processing data or running applications. The amount of heat generated increases with the computational load placed on the processor. This heat must be dissipated efficiently to prevent thermal throttling, which occurs when a CPU reduces its clock speed to lower temperatures.
Cooling Techniques
There are two main types of cooling techniques used in CPUs: air cooling and liquid cooling.
- Air Cooling: This method uses fans and heat sinks to dissipate heat. Heat sinks, made from materials like aluminum or copper, provide a large surface area for heat transfer. Air coolers are generally less expensive but may not be as effective in high-performance scenarios.
- Liquid Cooling: Liquid cooling systems use liquid (typically water) to absorb and transport heat away from the CPU to a radiator where it is then expelled into the air by fans. This method offers superior cooling performance, especially under heavy loads.
CPU Cooler Specifications
Material Quality
The material quality of a cooler can significantly impact its thermal efficiency. Copper and aluminum are commonly used due to their excellent heat conductivity properties:
- Copper: Copper is the best conductor of heat among common materials, making it highly effective for dissipating heat.
- Aluminum: While not as efficient as copper, aluminum is still a good conductor and offers better cost-effectiveness compared to pure copper coolers.
Fan Speed and Noise Level
The fan speed of the cooler plays a critical role in determining both its cooling efficiency and noise level. High-speed fans provide better cooling but can generate more noise, which may be undesirable for certain environments:
- Noise Levels: Look for coolers with lower decibel ratings if you prioritize silence.
- Fan Speed Control: Some high-end coolers come with variable speed control or PWM technology to adjust fan speed based on temperature, offering a balance between cooling and noise.
Cooling Capacity
The cooling capacity of a cooler is measured by its thermal performance at various load levels. This is typically indicated through benchmarks like PassMark CPU Mark scores:
- Thermal Load Testing: Cooler manufacturers often provide temperature results under specific load conditions, such as Prime95 or FurMark tests.
Choosing the Right Cooler for Your Needs
High-Performance Gaming
In gaming scenarios, a cooler with high cooling capacity and noise control is preferred. Liquid coolers are often more effective in handling intense graphics processing:
- Liquid Coolers: They provide better temperature stability during long gaming sessions.
- Air Coolers with Advanced Features: Some air coolers offer advanced features like RGB lighting and superior thermal paste to enhance performance.
Low-Noise Office Environments
In office settings, the focus is often on maintaining a quiet environment. Choose a cooler that balances cooling efficiency with low noise levels:
- Air Coolers: Many air coolers are designed specifically for silent operation.
- Liquid Coolers with Silent Fan Options: Some liquid coolers come equipped with quiet fans and noise-reducing technology.
Detailed Comparison of CPU Coolers
Cooler A: Advanced Air Cooler
This cooler features a large aluminum heat sink coupled with multiple high-speed PWM-controlled fans:
- Pros:
- Excellent cooling performance under heavy loads.
- PWM control for noise reduction during light use.
- Built-in RGB lighting.
- Cons:
- Noise level increases at high speeds.
- Limited compatibility with certain CPU socket types.
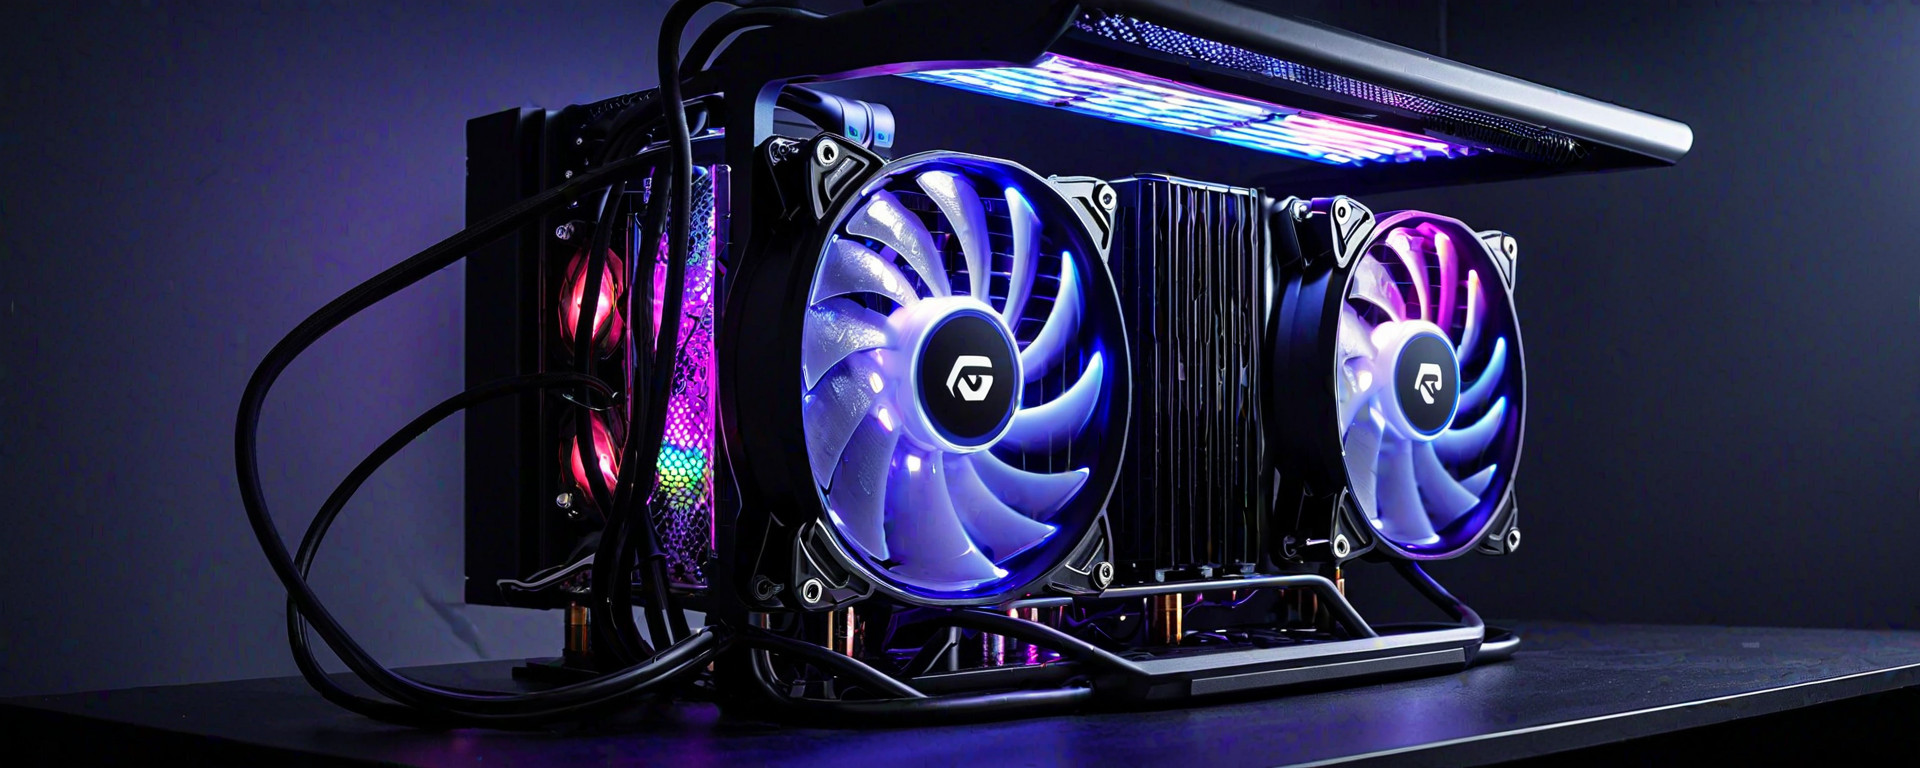
Cooler B: High-End Liquid Cooler
This cooler uses a closed-loop liquid system to provide optimal cooling:
- Pros:
- Superior thermal performance under heavy loads.
- Quieter operation due to efficient liquid transfer of heat.
- High compatibility with various CPU socket types.
- Cons:
- Higher initial cost compared to air coolers.
- Risk of leaks, though modern systems are generally leak-resistant.
Technical Specifications and Performance Benchmarks
The following table provides a detailed comparison of the technical specifications and performance benchmarks for Cooler A (Advanced Air Cooler) and Cooler B (High-End Liquid Cooler):
| Cooler A: Advanced Air Cooler | Cooler B: High-End Liquid Cooler | |
|---|---|---|
| Material | Aluminum Heat Sink, Copper Base Plate | Copper Pipes, Aluminum Radiator |
| Fan Speed (RPM) | 1200-2500 RPM | 800-1400 RPM |
| Noise Level (dB) | 30-40 dB | 27-36 dB |
| Cooling Capacity (Watts) | 150 Watts | 200 Watts |
| Benchmark Score (PassMark CPU Mark) | 38,000 Points | 42,000 Points |
Installation and Maintenance Tips
Proper installation and regular maintenance are crucial for ensuring the longevity and performance of your CPU cooler:
- Preparation: Ensure that you have all necessary tools and thermal paste before starting.
- Installation Steps:
- Clean and apply fresh thermal paste to the CPU surface.
- Firmly attach the cooler onto the CPU socket, securing it tightly without over-tightening.
- Connect any required power cables for fans or RGB lighting.
- Maintenance:
- Regularly check for dust accumulation and clean as needed.
- Monitor fan operation to ensure proper rotation without obstruction.
Frequently Asked Questions (FAQs)
- Q: How do I choose between an air cooler and a liquid cooler?
- A: Consider factors such as cooling capacity, noise level, budget, and intended usage environment.
- Q: What is the best thermal paste for my CPU cooler?
- A: High-quality thermal pastes like Arctic MX-4 or Noctua NT-H1 provide excellent heat transfer properties.
- Q: How often should I replace the thermal paste on my CPU cooler?
- A: It is generally recommended to reapply thermal paste every 2-3 years, but this can vary based on usage conditions and quality of paste used.
Conclusion
By carefully considering the various factors such as material quality, fan speed, noise level, and cooling capacity, you can choose a CPU cooler that meets your specific needs. Whether you're looking for high-performance gaming capabilities or low-noise office operation, there is a suitable cooler available to enhance both the longevity and efficiency of your system. For detailed installation and maintenance tips, refer to manufacturer guidelines and ensure regular upkeep to maintain optimal performance. With thorough research and proper care, your chosen CPU cooler will provide reliable cooling and peace of mind for years to come.