Introduction
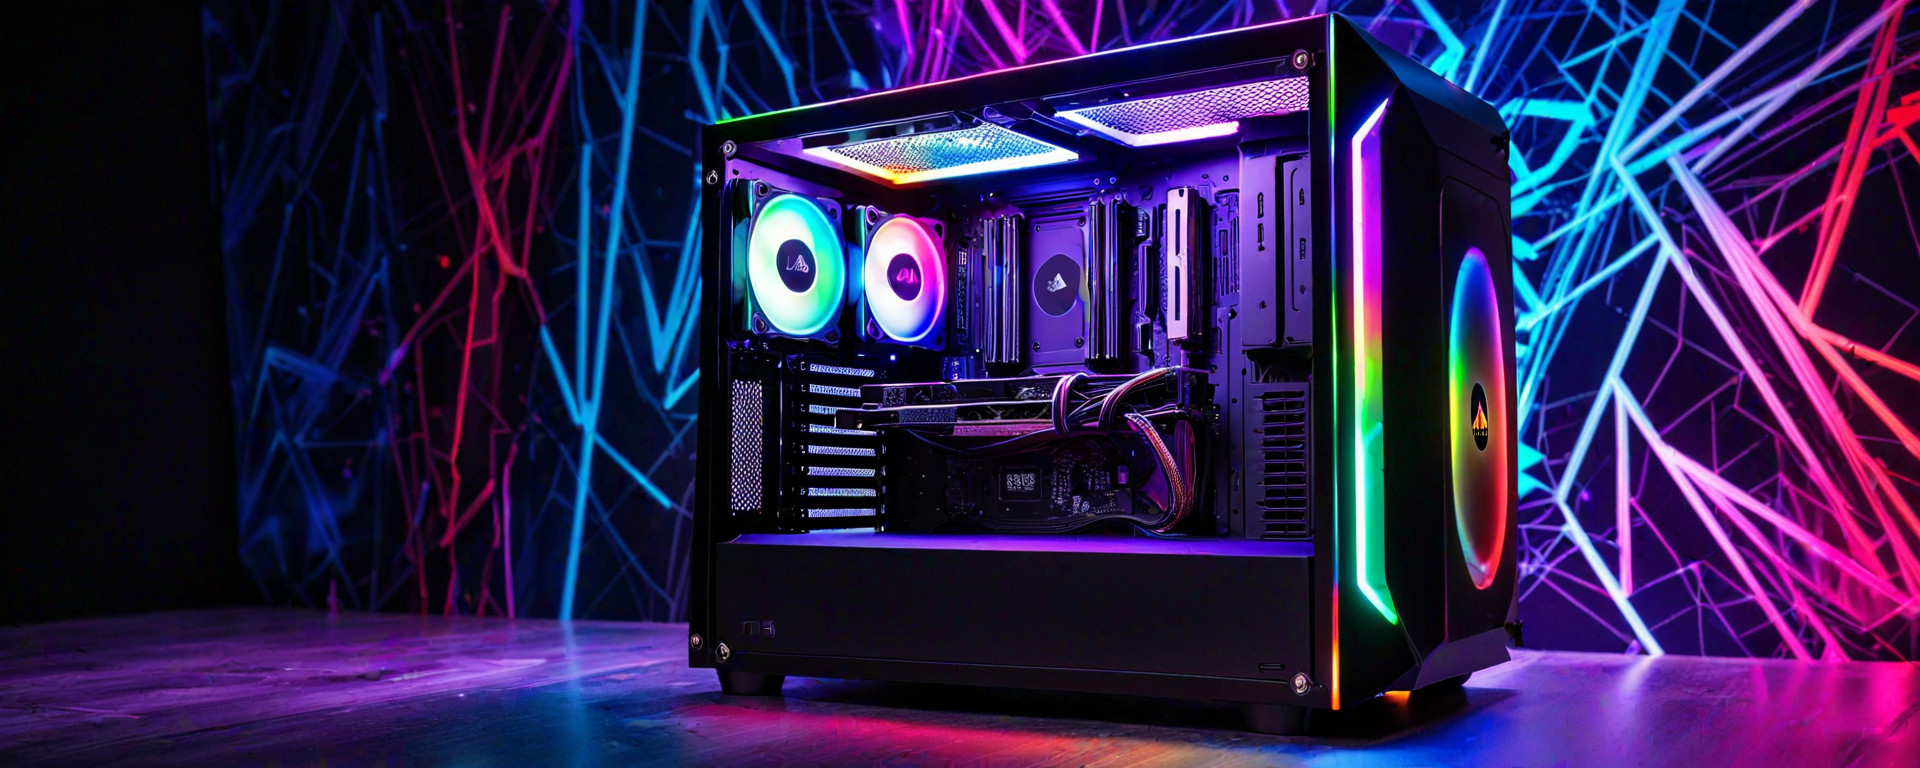
The mini-ITX and micro-ATX form factors have gained significant traction in recent years as they offer a balance between compact size and powerful performance. These form factors are ideal for gamers, professionals, and tech enthusiasts who seek high-end capabilities without the bulkiness of traditional ATX builds. This article delves into the intricacies of building systems using mini-ITX and micro-ATX cases, highlighting key benefits such as efficient cooling, versatile build configurations, and compact size.
Key Benefits
- Compact Size: Mini-ITX and micro-ATX builds are designed to fit into tight spaces without compromising on performance. This makes them ideal for home offices, gaming setups, or small form factor PC cases.
- Versatile Build Configurations: Users can customize their build with a wide range of components, including high-end CPUs and GPUs, while maintaining a compact footprint.
- Efficient Cooling: Smaller cases often require less cooling hardware, leading to quieter operation and improved energy efficiency. Proper thermal management is crucial for optimal performance and longevity.
Understanding Mini-ITX and Micro-ATX Form Factors
The mini-ITX and micro-ATX form factors offer distinct advantages in terms of size, power consumption, and component compatibility. Mini-ITX boards are smaller than micro-ATX but still support powerful components for gaming and productivity.
Mini-ITX Form Factor
Mini-ITX motherboards measure 6.7 inches by 6.7 inches (170mm x 170mm) and are ideal for small form factor cases. They typically support dual-channel memory configurations with up to two slots.
Micro-ATX Form Factor
Micro-ATX motherboards measure 9.6 inches by 9.6 inches (244mm x 244mm) and offer more space for expansion than mini-ITX boards. They support up to four memory slots, allowing users to install high-capacity RAM configurations.
Component Compatibility
Both form factors are compatible with a wide range of components, including:
- CPU Support: Mini-ITX and micro-ATX boards typically support the latest Intel and AMD processors, offering robust performance for gaming and productivity tasks.
- GPU Compatibility: Users can install mid-range to high-end GPUs that fit within the available space. This includes slimline or low-profile cards designed specifically for small form factor cases.
Selecting a Case for Mini-ITX and Micro-ATX Builds
The case is crucial in determining how well your build will perform, both thermally and aesthetically. Consider factors such as airflow, size, and compatibility when choosing a case.
Airflow and Cooling Solutions
- Case Fans: Ensure the case supports sufficient fan placement for optimal airflow. This includes intake fans at the front or bottom of the case and exhaust fans at the top or rear.
- Liquid Cooling Compatibility: Some cases support liquid cooling systems, which are ideal for high-performance builds requiring additional thermal management solutions.
Aesthetics and Build Quality
- Dust Filters: Choose a case with efficient dust filters to prevent debris from entering the system and affecting performance or longevity.
- Rackmounting Options: If you need to mount your build in an office or server rack, ensure the case supports rackmount configurations.
Choosing High-Performance Components for Mini-ITX Builds
To maximize performance in a mini-ITX build, carefully select components that balance power and space constraints. This includes:
Central Processing Unit (CPU)
- CPU Selection: Opt for high-performance CPUs like Intel Core i7 or AMD Ryzen 7 series processors.
- GPU Recommendations: Select a GPU that fits within the case dimensions, such as NVIDIA GeForce RTX 3060 Ti or AMD Radeon RX 6800 XT. Consider slimline or low-profile cards for optimal fit.
Maximizing Performance with Micro-ATX Builds
Micro-ATX builds offer more flexibility and expansion options, allowing users to install high-end components while maintaining a compact form factor.
Multimedia Capabilities
- Stereo Audio: Ensure the motherboard supports quality audio output for immersive gaming experiences or professional-grade audio editing.
- VGA and HDMI Ports: Opt for motherboards with multiple display outputs, enabling multi-monitor setups for productivity or gaming environments.
Certification and Compatibility
- CE and FCC Certification: Verify that the components and case are certified for use in your region to ensure compliance with local regulations.
Building a Mini-ITX or Micro-ATX PC: A Step-by-Step Guide
Follow these steps to assemble your mini-ITX or micro-ATX build:
Preparation and Tools
- Gather All Parts: Ensure you have all necessary components before starting the assembly process.
- Tools Required: Use a Phillips screwdriver, thermal paste applicator, and cable ties for organizing internal cables.
Motherboard Installation
- Secure the motherboard onto the case using standoffs provided in the package.
- Refer to detailed instructions for precise installation steps.
CPU Installation and Cooling Setup
- Apply thermal paste to the CPU before mounting it onto the motherboard socket.
- Install a compatible cooler or liquid cooling system as per manufacturer guidelines.
Motherboard Connections
- Connect Power Supplies: Securely connect power cables from PSU to motherboard and other components.
- Cable Management: Organize internal wiring for improved airflow and aesthetic appeal.
Troubleshooting Common Build Issues in Mini-ITX and Micro-ATX Systems
If you encounter problems during assembly or operation, consider the following troubleshooting tips:
No Power or POST Errors
- Check Connections: Ensure all cables are securely connected to the motherboard and PSU.
- CPU Socket Integrity: Verify that the CPU is properly seated in its socket without any bent pins.
Poor Performance or Overheating Issues
- Clean Dust Filters: Regularly clean dust filters to maintain optimal airflow and cooling efficiency.
- Monitor Temperatures: Use software tools like HWMonitor to track CPU, GPU, and motherboard temperatures for early detection of thermal issues.
Maintaining a Mini-ITX or Micro-ATX PC: Tips and Tricks
To ensure long-term reliability and performance, follow these maintenance tips:
Regular Cleaning and Dust Removal
- Disassemble Case: Carefully remove components to access internal areas for dust removal.
- Clean with Compressed Air: Use compressed air or a canister to blow out accumulated debris, focusing on fans and heat sinks.
Updating Firmware and Drivers
- Check Manufacturer Websites: Regularly visit the official websites of your motherboard and GPU manufacturers for firmware updates.
- Install Latest Drivers: Ensure all components are running the latest drivers to optimize performance and stability.
Conclusion
Building a mini-ITX or micro-ATX PC offers numerous advantages, including compact size, efficiency, and customization options. By selecting high-performance components and following proper assembly techniques, you can create a powerful system tailored to your specific needs.
Additional Resources
For more information on building and maintaining your mini-ITX or micro-ATX PC, consult these additional resources and guides.
Note: Always refer to the official documentation provided by hardware manufacturers for specific installation instructions and best practices. Happy building!
By following this guide, you can create a powerful and efficient mini-ITX or micro-ATX build that meets your performance requirements while maintaining a compact form factor.


