Introduction
The power supply unit (PSU) in a computer serves as the heart of the system, converting AC power from your wall outlet into DC power for all components inside. Over time, the PSU can wear out or become inadequate to meet the demands of upgraded hardware. This guide aims to provide an overview of safely swapping out your old PSU with a new one.
Whether you're dealing with a malfunctioning unit or looking to upgrade for better efficiency and performance, proper installation is crucial for maintaining system stability and longevity. Follow this comprehensive guide to ensure a smooth transition and avoid common pitfalls.
Selecting the Right PSU
Understanding Power Requirements
The first step in swapping out your PSU is understanding the power requirements of your components. This includes:
- CPU Power Supply: Modern CPUs require a 12V rail that can deliver at least 60A.
- Gaming GPUs: High-end graphics cards often have their own power connectors and consume significant wattage (e.g., 75W).
Form Factor Compatibility
Ensure the new PSU fits your case. Common form factors include:
- ATX: Standard size, suitable for full-tower cases.
- SFX: Compact and efficient, ideal for small-form-factor (SFF) builds.
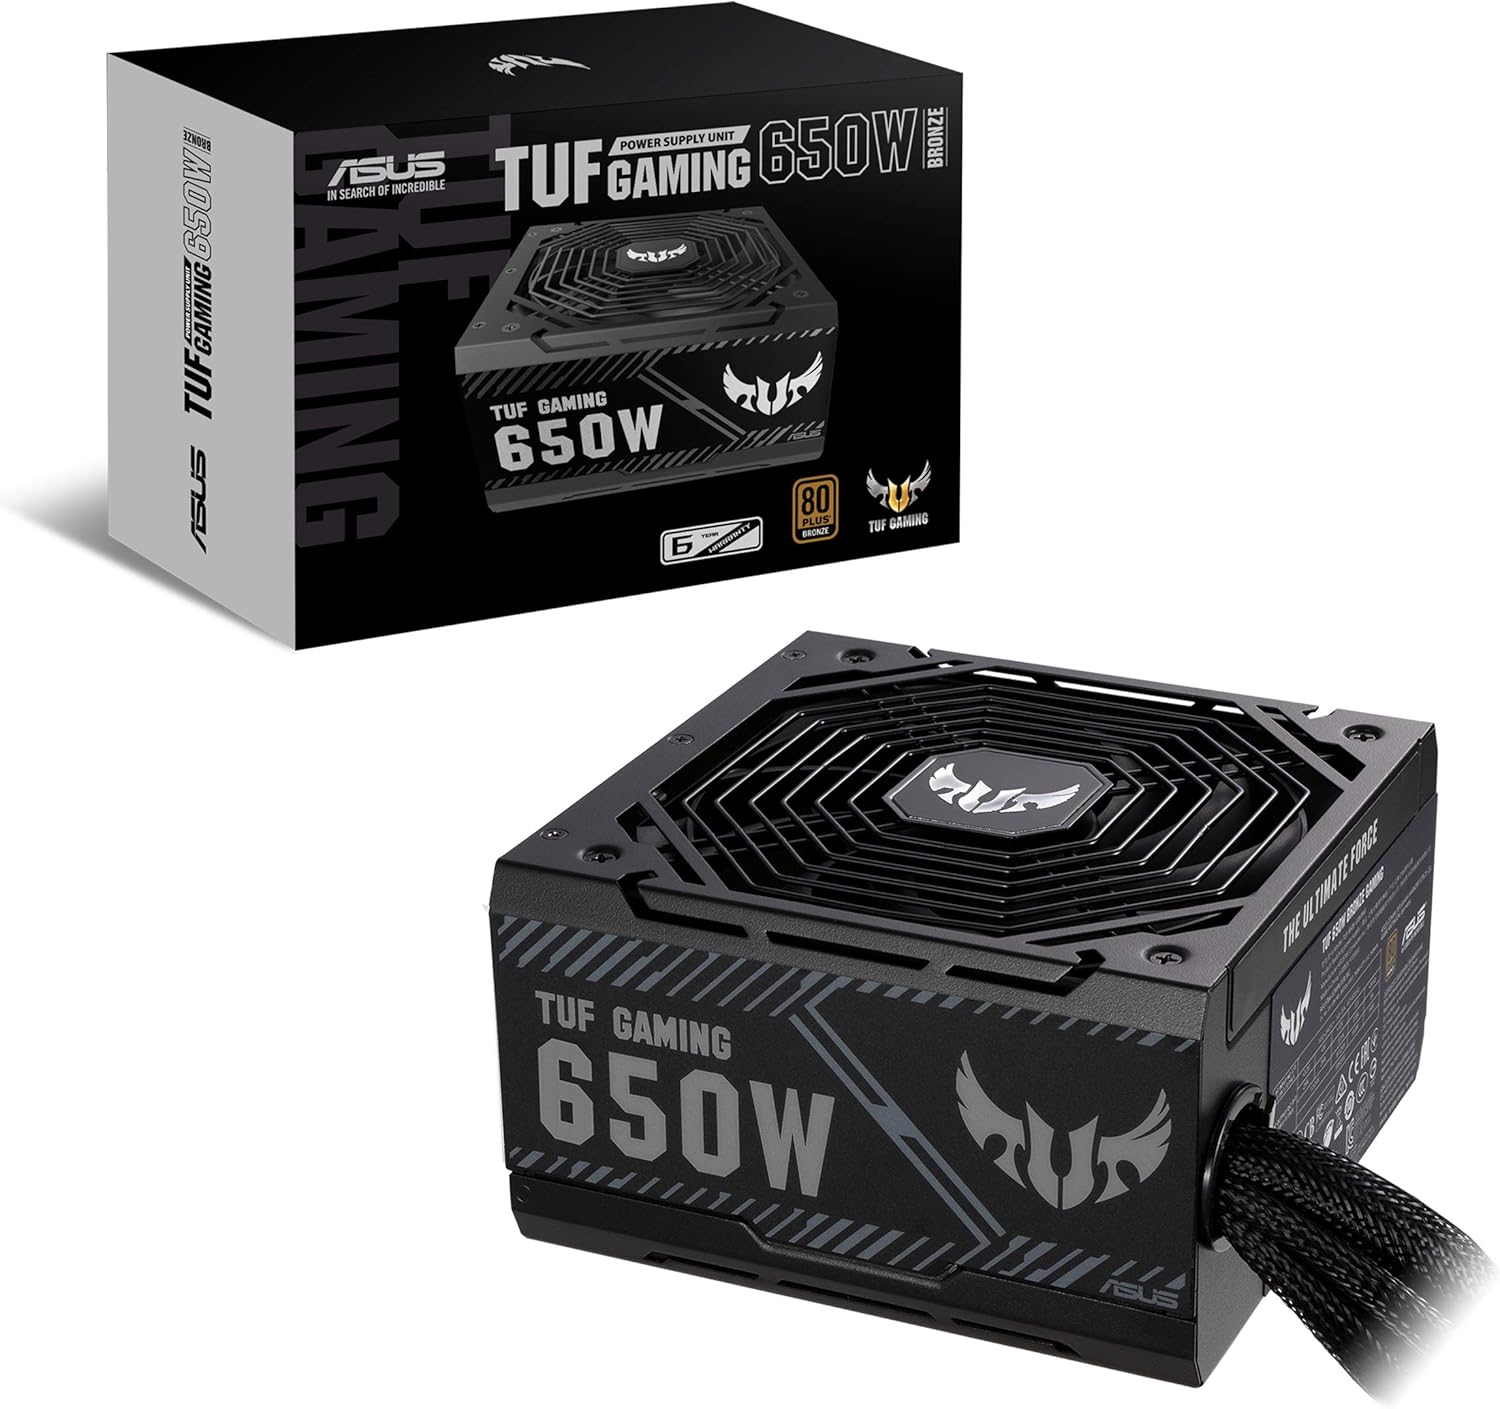
Efficiency Ratings
Preparation Before Installation
Backup Data and Disconnect Power Supply
Before proceeding, ensure all data is backed up. Disconnect the power supply from your computer to avoid electrical hazards.
- Unplug the PSU from the wall outlet.
- Press the power button on your PC and hold it for 30 seconds to discharge any remaining static electricity.
Remove Cables and Components
Disconnect all cables from the old PSU:
- Motherboard: Remove the 24-pin ATX connector, CPU power cable (8 or 4-pin), SATA connectors.
- GPU: Detach auxiliary power connections if present.
Remove Old PSU from Case
The method of removing your old PSU varies based on the case design:
- If using thumbscrews, loosen them to release the PSU.
- If screws are used, unscrew them carefully and remove the unit.
Installing the New PSU
Mounting Bracket Adjustment
Some PSUs come with mounting brackets for easy installation. Adjust these to fit your case:
- Bend or cut any tabs as necessary.
- Firmly secure the PSU using screws and/or thumbscrews.
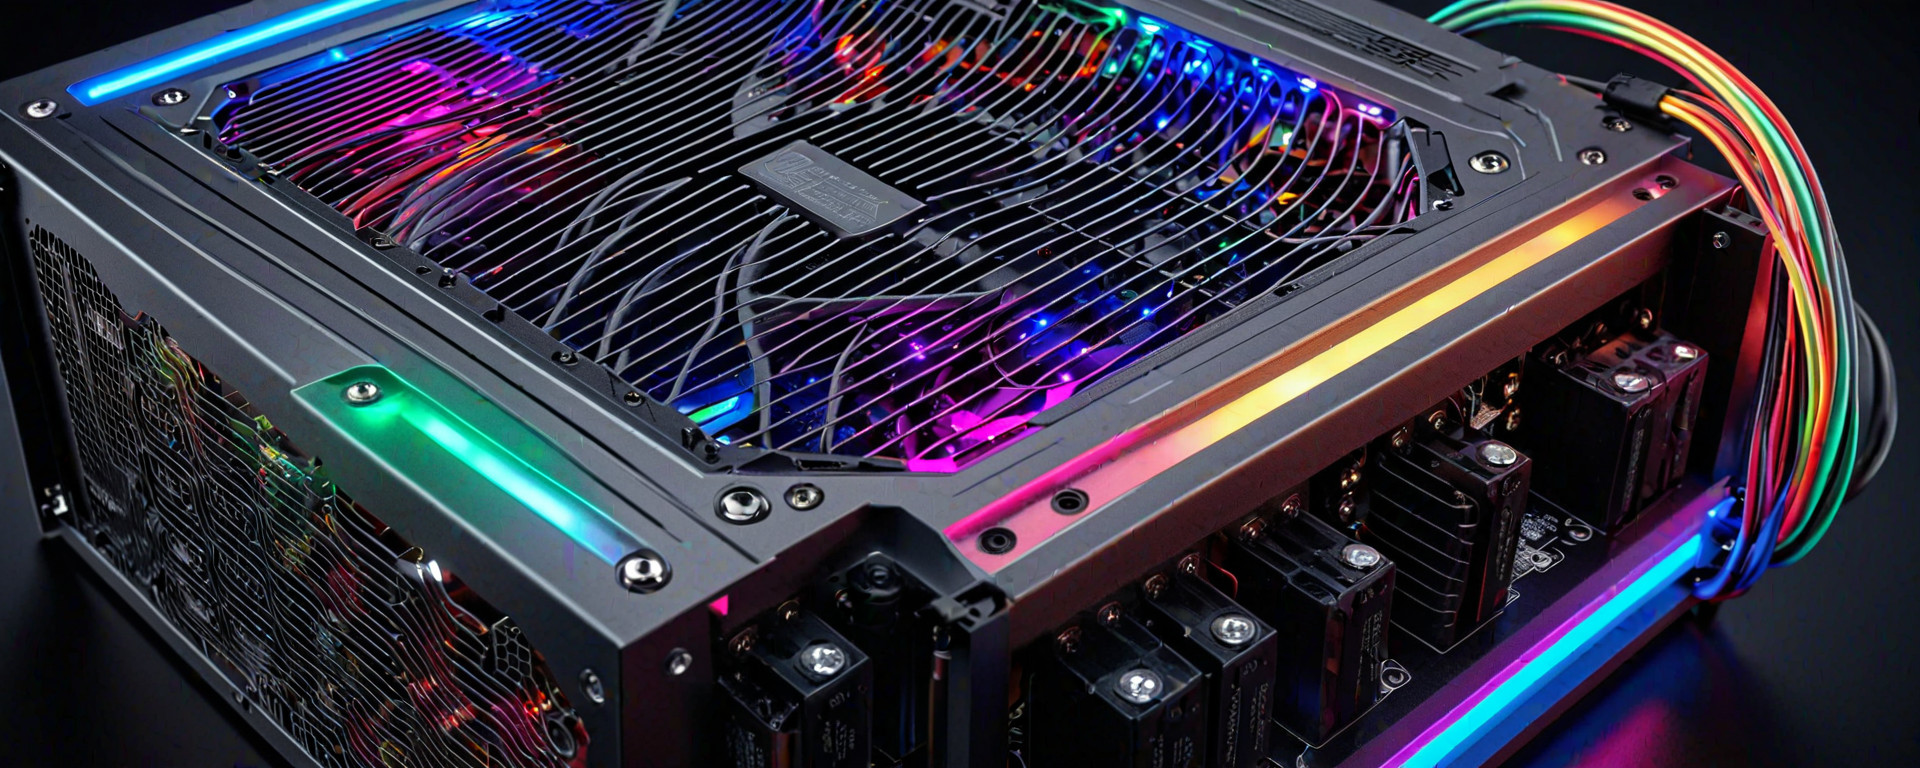
Cable Management
Proper cable management improves airflow and aesthetics:
- Tie down cables with zip ties or velcro straps.
- Route power cables behind the motherboard tray for a neat look.
Connecting Cables to New PSU
Motherboard and CPU Connectors
Reconnect all necessary connectors:
- Main 24-pin connector: Insert into the motherboard's ATX socket.
- CPU power connector (8 or 4-pin): Align and plug in securely.
Peripheral Cables
Connect SATA, PCI-E, and Molex cables to peripherals:
- SATA connectors: Attach one end to the PSU, the other to hard drives or SSDs.
- Molex connectors: Used for older optical drives and cooling fans.
Final Checks Before Power-On
Double-Check Connections
Ensure all cables are properly connected:
- Inspect each connection point to ensure no loose ends or misalignments.
Power Supply Cable Insertion
Insert the main power cable back into your PSU and plug it into a wall outlet.
Note: Never touch the internal components of the PSU while handling electricity.
Troubleshooting Common Issues
No Power After Installation
- Cables Not Seated Properly: Reconnect all cables and ensure they're seated correctly.
- Broken or Shorted Cables: Check for damage and replace if necessary.
Fans Not Spinning
- No 12V Signal: Ensure the motherboard's ATX header is properly connected.
- Cable Issues: Verify all fan connectors are plugged in and functioning correctly.
Maintaining Your New PSU
Dust Removal
Regularly clean dust from the PSU to maintain efficiency:
- Use compressed air or a soft brush to remove debris from vents.
Monitor Temperatures and Fan Speeds
Keep an eye on temperatures during operation:
- Normal operating temperature: 40-65°C (104-149°F).
- If the fan runs excessively or at high speed, check for dust accumulation.
Conclusion
Swapping out your PSU can significantly improve system performance and reliability. By following this guide, you ensure a smooth transition without compromising safety or functionality.
Additional Resources
- Manufacturer Documentation: Refer to the manual provided by the PSU manufacturer for specific instructions.
- Tutorials and Videos: Many online tutorials provide visual guidance, especially useful for cable management techniques.
Stay informed about updates and new technologies to enhance your build further. Happy building!