Introduction to Installing a Motherboard
Building or upgrading your computer can be an exciting venture, but it comes with challenges, particularly when installing a motherboard. This critical component serves as the backbone of your system, connecting and coordinating various hardware components to ensure optimal performance. Proper installation is crucial for avoiding issues such as compatibility problems, overheating, and poor performance.
Preparation Checklist
Before diving into the installation process, it's essential to gather all necessary tools and materials:
- Screwdrivers: Phillips head screwdriver (most common), Torx screwdriver for specific cases.
- Multimeter: To check power supply connections.
- Static Electricity Protection: Anti-static wrist strap or mat to protect components from static electricity.
- Cooling Solution: Thermal paste and applicator tool, CPU cooler if replacing an older one.
- Motherboard Manual: Detailed instructions for your specific model.
Preparing Your Workspace
A clean, well-lit workspace is essential. Lay out a soft surface (like an old towel or anti-static mat) to place components on. Ensure you have enough room to maneuver comfortably and that the area is free from dust and debris.
Step-by-Step Installation Guide
The installation process can be broken down into several key steps:
1. Attaching Standoffs
- Identify Standoff Locations: Refer to your case manual or motherboard packaging for the correct standoff locations.
- Install Standoffs: Use the appropriate screws and standoffs provided with your case to secure them in place.
2. Installing the Motherboard
- Lay Out Components: Place the motherboard onto the standoffs carefully, ensuring all ports are aligned correctly with the case openings.
- Secure Motherboard: Use screws to tighten and secure the motherboard in place. Ensure even pressure across all mounting points to avoid warping or damaging the board.
3. Connecting Power Supply Units (PSUs)
- Main 24-pin Connector: Connect this power cable from your PSU to the motherboard's primary power connector.
- CPU Power: Identify and connect the CPU-specific power supply cables if required by your model (usually a 4 or 8-pin connector).
4. Memory Installation
- Select Correct Slots: Consult your motherboard manual for recommended memory slot locations.
- Insert RAM Modules: Gently insert the RAM modules into their slots, applying even pressure to click them in place.
Detailed Technical Specifications and Performance Benchmarks
Understanding technical specifications is vital for choosing the right motherboard. Key factors include:
CPU Socket Compatibility
Ensure your new CPU fits with the existing socket type (e.g., LGA 1700, AM4).
Micro-ATX vs. ATX Form Factor
- Micro-ATX: Smaller size, suitable for compact builds.
- ATX: Full-size with more expansion options and better cooling potential.
Real-World Usage Scenarios and Case Studies
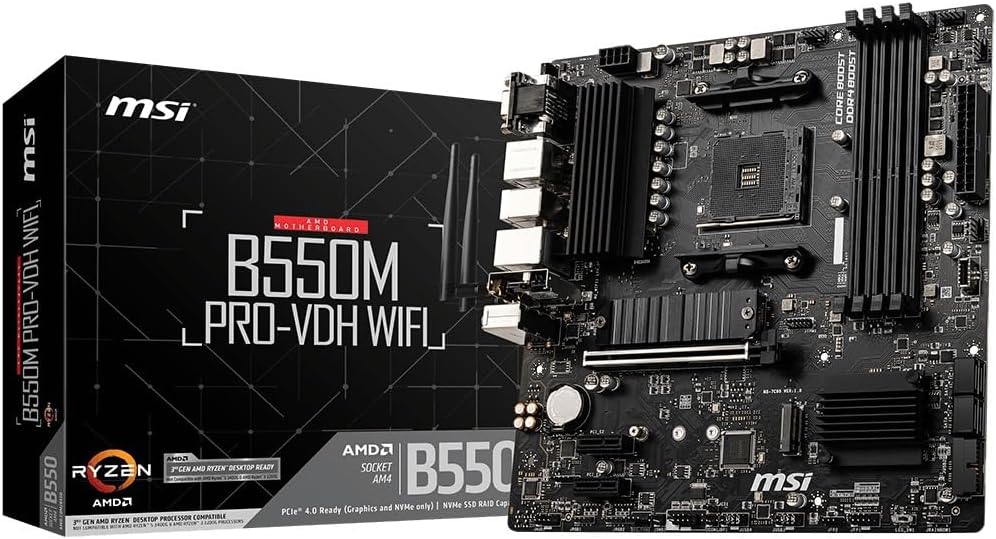
A practical example involves upgrading an older gaming rig to a newer motherboard that supports the latest AMD Ryzen processors. This upgrade not only improves performance but also adds compatibility for future hardware advancements, such as PCIe 4.0 SSDs.
Case Study: Upgrading from Intel B365 to Z490
A user decided to step up their gaming experience by switching from an Intel B365 motherboard to a Z490 model. The upgrade allowed for better overclocking capabilities, improved PCIe bandwidth, and additional USB ports, enhancing both performance and convenience.
Troubleshooting Common Issues
- System Doesn't Power On: Verify all connections are secure; check the power supply voltages using a multimeter.
- No Display Output: Ensure the monitor cable is correctly connected and that your video card's drivers are installed.
Comparison Tables with Alternative Products
| Model | CPU Socket | Form Factor | No. of USB Ports | Price (USD) |
|---|---|---|---|---|
| ASUS ROG Strix X570-E Gaming | AM4 | ATX | 26 | $319.99 |
| Gigabyte B450 AORUS PRO WiFi | AM4 | ATX | 28 | $169.99 |
| Msi MPG B550 Gaming Edge Wi-Fi | AM4 | ATX | 28 | $179.99 |
Pros and Cons of Each Model
| Model | Pros | Cons |
|---|---|---|
| ASUS ROG Strix X570-E Gaming | High-end features, robust VRM design for overclocking. | Pricier; not recommended unless you need top-tier performance. |
| Gigabyte B450 AORUS PRO WiFi | Affordable with good connectivity options, decent VRM design. | Limited overclocking potential compared to higher-end models. |
| Msi MPG B550 Gaming Edge Wi-Fi | Good balance between price and features; strong build quality. | No PCIe 4.0 support for older CPUs, lacks some high-end features like RGB lighting. |
Frequently Asked Questions (FAQs)
- What is the difference between ATX and Micro-ATX?
- ATX motherboards are larger, offering more expansion slots and better cooling capabilities, while Micro-ATX boards are smaller, ideal for compact cases.
- Can I upgrade my RAM on a new motherboard?
- Yes, you can usually install newer RAM sticks if they meet the compatibility requirements of your motherboard's chipset.
- How do I know which power supply to buy?
- Select a PSU based on the wattage needed for your components and ensure it has enough connectors for all your devices (CPU, GPU, etc.).
Conclusion
Upgrading or installing a new motherboard is an essential step in building or improving your computer system. By understanding technical specifications, troubleshooting common issues, and comparing different models, you can make informed decisions that suit your needs.
Further Reading and Resources
Contact Us
If you have any further questions or need assistance, feel free to reach out via email at support@techhub.com.